
The difference between planting a potted tree and any other kind comes down to one thing: the roots have spent their life going round in circles, and if you plant them that way they will keep going round. Slide the pot off, cut or shave the outer layer of roots so they are pointing outward, find the root flare beneath the potting mix, and set that flare level with the surrounding soil. Backfill with the soil you dug out, water 2 to 3 gallons per inch of trunk diameter, and mulch without touching the trunk.
Key takeaways
- Deal with circling roots at planting. It is the only chance you get.
- The potting-mix surface is not the root flare. Scrape down and find the real one.
- Shave the outer inch of the root ball - UF/IFAS recommends it, and it feels far more drastic than it is.
- Backfill with native soil, never potting mix. A pocket of light mix in native ground dries out and holds roots in.
- Container stock has the widest planting window of any stock type, because the root system is undisturbed.
- Most potted trees do not need staking.
Why container stock is different
A tree grown in a pot has never had its roots cut. That is the advantage: no transplant shock in the sense a dug field tree suffers, and a planting window that runs whenever the ground is workable.
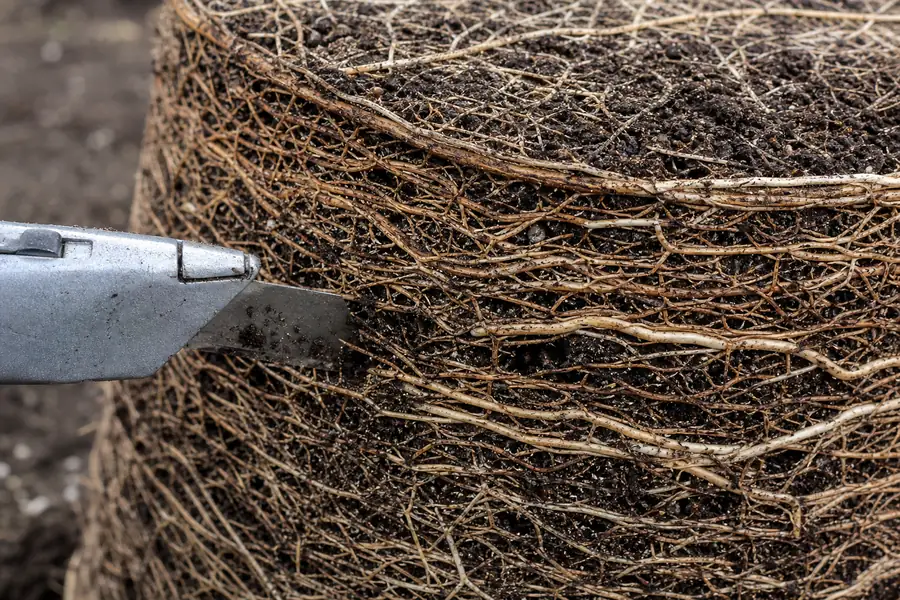
The trade-off is the pot itself. A root growing outward in a container hits a wall and turns. Over a season or two it circles the inside of the pot, sometimes repeatedly. Plant that root ball intact and those roots keep circling - in the ground, where they eventually thicken, meet the expanding trunk, and strangle it.
Colorado State Extension describes trunk-girdling roots as "the most common cause of tree decline and death in the landscape", typically appearing "some twelve to twenty plus years after planting." The fifteen seconds you spend with a knife at planting is the entire intervention.
There is a second difference: potting mix is not soil. It is a light, open blend designed to drain fast in a container. In the ground, surrounded by denser soil, it dries out faster than its surroundings and creates a boundary roots are reluctant to cross. That is why you do not add any more of it to the hole.
Before you start
- Check drainage. Dig a 12-inch hole, fill, drain, refill, and measure the drop per hour. Under 1 inch an hour is poor drainage and you should plant high - see planting trees in clay soil.
- Call 811 before digging.
- Water the tree in its pot a few hours beforehand. A moist root ball holds together and separates from the pot cleanly.
- Check the mature size against the spot. See how far from the house to plant a tree.
Step 1 - Find the root flare, before you dig
Scrape the potting mix away from the trunk until you find where the topmost structural root leaves it. Measure how deep you had to go.
Mix settles in containers and growers top it up, so an inch or several of mix over the flare is common. If you dig a hole to match the pot, that is exactly how many inches too deep the tree will be planted.
ISA: "Remove excess soil prior to planting if flare is not visible."
More detail in the tree root flare and how deep to plant a tree.
Step 2 - Dig wide, not deep
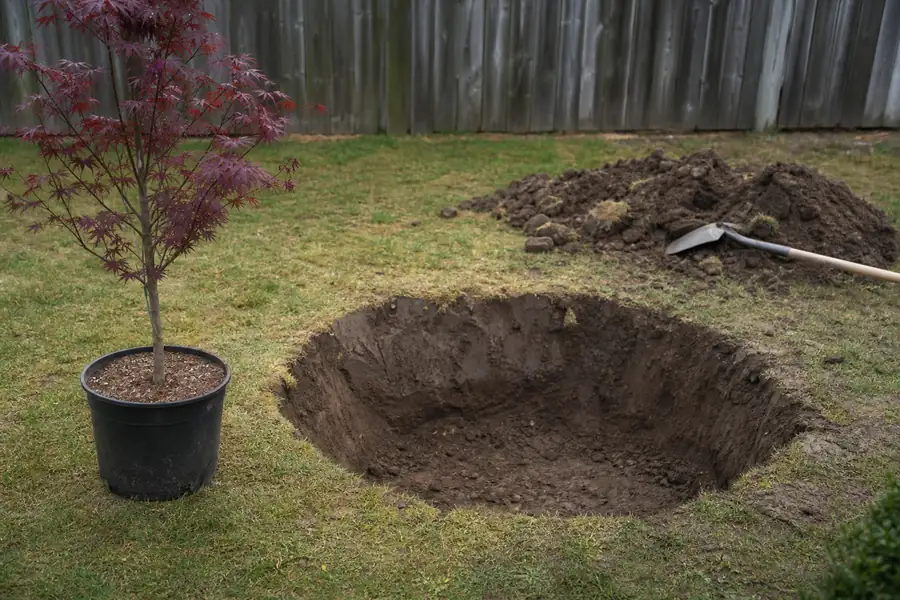
Two to three times the width of the root ball, and no deeper than the distance from the flare to the base of the ball.
Leave the bottom of the hole undisturbed so the ball cannot settle. Roughen the sides of the hole, particularly in clay, so roots can cross into native soil.
Step 3 - Get the tree out of the pot
Lay the tree on its side. Press and roll the pot to loosen the root ball, then slide the pot off - do not pull the tree out by the trunk.
If it will not come free, cut the pot away. A ruined $2 container is a better outcome than a damaged root system.
Step 4 - Deal with the roots
This is the step that matters, and the step most people skip.
Look at what you have:
| What you see | What to do |
|---|---|
| Roots loosely distributed, few circling | Tease the outer roots outward by hand |
| Visible roots circling the outside of the ball | Cut each one where it begins to turn, or shave the outer layer |
| Dense mat of roots in the shape of the pot ("root bound") | Shave the outer inch or so off the sides with a sharp spade, and score the ball vertically in three or four places |
| A root circling the trunk itself at the top of the ball | Cut it out entirely. This one becomes a girdling root |
| A solid, woody circling root too thick to cut cleanly | Cut it anyway if it circles the trunk - or choose a different tree if you have not bought it yet |
UF/IFAS's instruction is direct: "Shave off the outer inch or so of the root ball with a sharp shovel. This removes roots that could strangle the trunk later as it grows in diameter. It also encourages roots to quickly grow into the landscape soil and makes the tree sturdier in winds."
It looks like vandalism and it is not. You are removing a small proportion of fine roots and preventing a structural problem that kills trees decades later. Trees recover from this quickly; they do not recover from girdling.
Do the work in shade if possible, and quickly. Exposed roots dry out.
Step 5 - Set the tree
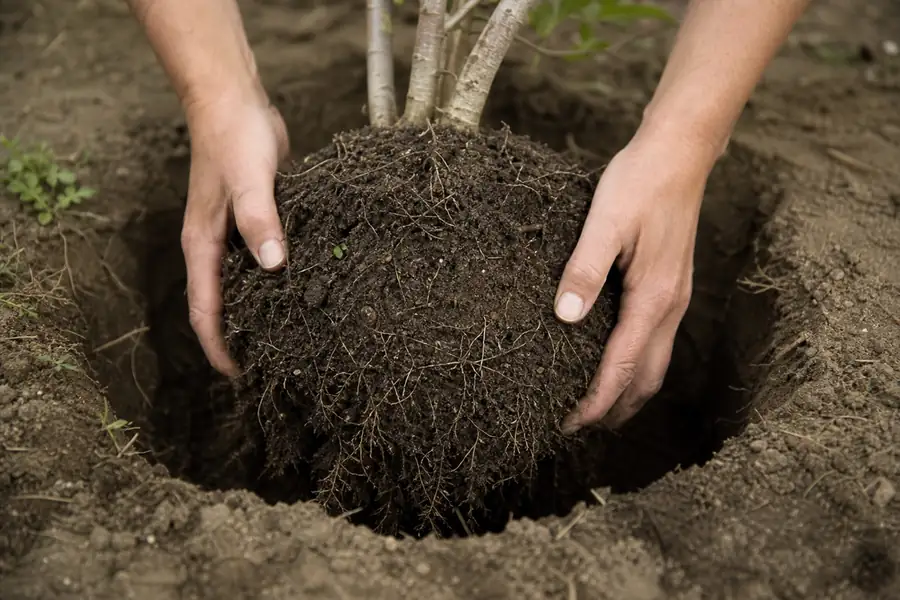
Place it in the hole and check:
- Root flare at or slightly above the surrounding grade. Lay a board across the hole to check. On poorly drained sites, set it 2-4 inches proud.
- Plumb from two directions ninety degrees apart.
- Best face forward - decide which side points at the house now.
Lift by the root ball, not the trunk (ISA).
Step 6 - Backfill with native soil
Use the soil you dug out. No compost, no potting mix, no bagged topsoil, no fertilizer. See the best soil for planting a tree for why.
Backfill in layers, firming gently. UF/IFAS recommends slicing a shovel down into the soil twenty to thirty times around the tree to break up air pockets; ISA suggests watering periodically while backfilling for the same reason.
Do not fertilize. ISA: "Avoid fertilizing at the time of planting."
Step 7 - Water it in
2-3 gallons per inch of trunk diameter, applied slowly over the root ball (UF/IFAS). This settles soil into contact with the roots as much as it hydrates.
Step 8 - Mulch
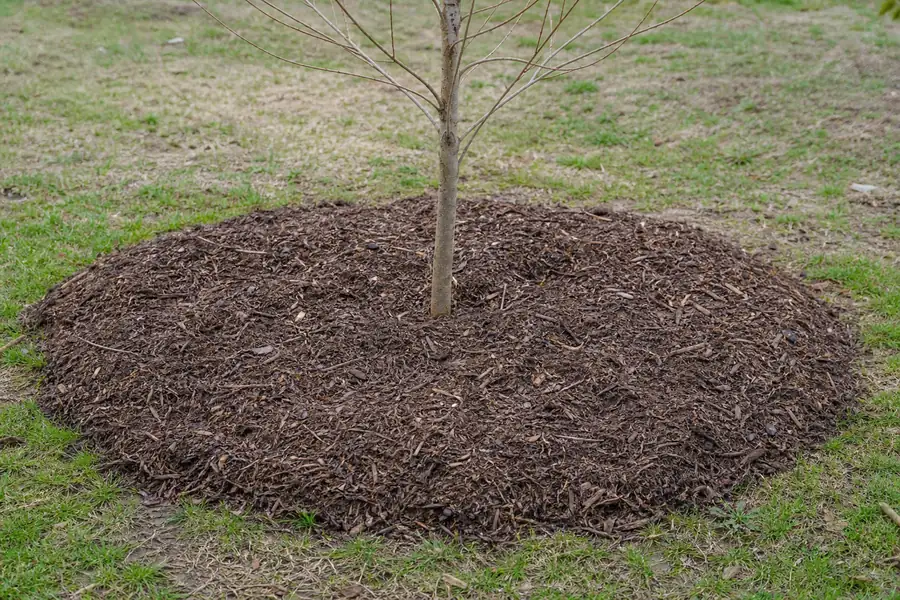
2-3 inches of coarse organic mulch over as wide an area as practical, with a clear gap at the trunk so the flare stays visible. See how to mulch around a tree.
Step 9 - Stake only if needed
Container stock usually does not need staking, because the root ball is intact and provides anchorage. Push the trunk gently and watch the base: if the whole ball rocks, stake it; if the trunk flexes and the base stays put, do not. See how to stake a tree.
Aftercare
| Period | What to do |
|---|---|
| First 1-2 weeks | 2-3 gallons per inch of caliper, every 2-3 days |
| Weeks 3-12 | Same volume, 2-3 times per week (spring/summer planting) |
| Thereafter | Weekly until established |
| Check | Soil at 4-6 inches by hand before every watering |
| Fertilizer | None in year one |
| Pruning | Dead and broken wood only |
The critical point for container stock: for the first months, the working roots are still inside the volume of the original root ball. Water applied in a wide circle around the tree largely misses it. Apply water directly over the root ball and widen the area as the season progresses. Full method in how to water a newly planted tree.
How long? Establishment runs roughly three months per inch of trunk caliper in zones 10-11 and about twelve months per inch in zones 2-5 (Gilman, UF/IFAS). Find your zone if you are not sure.
Common mistakes
| Mistake | Consequence | Fix |
|---|---|---|
| Planting the root ball intact | Circling roots become girdling roots in 12-20 years | At planting only - one chance |
| Using the potting-mix surface as the depth reference | Tree planted several inches too deep | Find the flare first |
| Backfilling with potting mix or compost | Dries out, creates a boundary, settles | Native soil |
| Pulling the tree out by the trunk | Separates trunk from root ball | Roll the pot, slide it off |
| Leaving the root ball exposed while you dig | Roots dry in minutes | Dig the hole first |
| Watering around the tree instead of over the ball | The root ball stays dry while the backfill is wet | Water over the ball for the first months |
| Fertilizing at planting | Top growth the roots cannot support | None in year one |
What size pot should the tree be in?
Worth knowing before you buy, because container size is a quality signal - and because the labeling is less exact than it looks.
The American Standard for Nursery Stock (ANSI Z60.2-2025) defines container classes by volume. A "#5" container holds between 785 and 1,242 cubic inches, which is 3.4 to 5.4 US gallons - so a pot sold as "5 gallon" may hold considerably less. The standard goes further: "Nursery stock specifications that reference only an imperial volume measurement, such as 'quarts' or 'gallons,' are not in accordance with the Standard."
The standard also sets which container classes are acceptable for a given tree size. For a Type 1 shade tree at 1-inch caliper, that is #7, #10 or #15 - so a 1-inch caliper tree in a #3 pot is under-potted and likely root bound.
The full picture is in tree sizes explained.
FAQ
How do you plant a potted tree?
Find the root flare beneath the potting mix, dig a hole two to three times the ball's width and no deeper than the flare-to-base measurement, remove the pot, cut or shave circling roots, set the flare at or slightly above grade, backfill with native soil, water 2-3 gallons per inch of trunk diameter, and mulch clear of the trunk.
Should I loosen the roots before planting a potted tree?
Yes. At minimum, tease the outer roots outward by hand and cut any that circle. For a root-bound tree, UF/IFAS recommends shaving the outer inch or so off the sides of the root ball with a sharp spade.
What happens if you do not cut circling roots?
They continue circling in the ground. As they and the trunk thicken, they compress the trunk and restrict its conductive tissue - girdling it. Colorado State Extension identifies trunk-girdling roots as the most common cause of landscape tree decline and death, typically appearing twelve to twenty or more years after planting.
Can I plant a potted tree in summer?
Yes - container stock has the widest planting window because its roots are undisturbed. Summer is still the highest-risk season, so plant in the evening or on an overcast day and water on a front-loaded schedule.
Should I use potting soil to backfill?
No. Potting mix is formulated for containers; in the ground it dries out faster than the surrounding soil and creates a boundary roots are reluctant to cross. Backfill with the soil you dug out.
Do potted trees need staking?
Usually not, because the intact root ball provides anchorage. Push the trunk and watch the base - if the whole ball rocks, stake it low and loose and remove within a year.
How deep should the pot's soil line sit?
Ignore the soil line in the pot. Set the root flare at or slightly above the surrounding grade - these are frequently not the same point, and the flare is the one that matters.
Everything we ship is established, well-rooted container and root-ball stock, delivered ready to plant and covered by our 1-Year Thrive Guarantee. Find your zone to see what thrives where you live, or browse the full range.